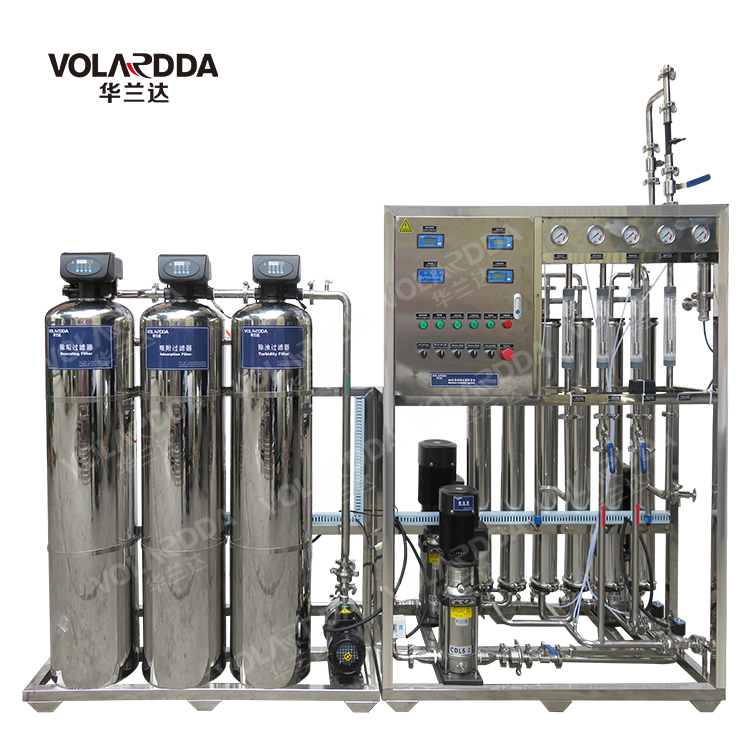
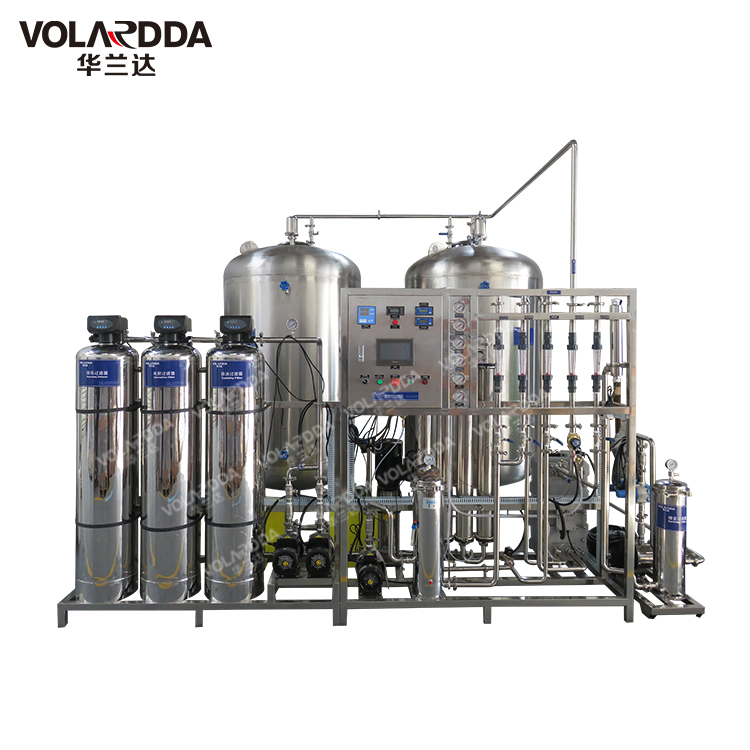
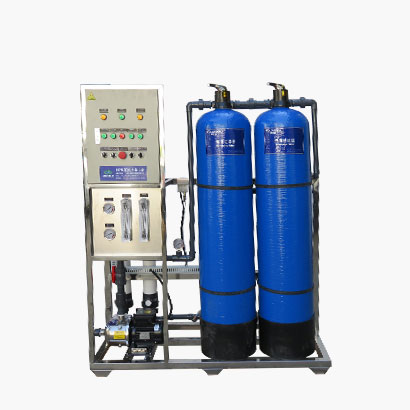
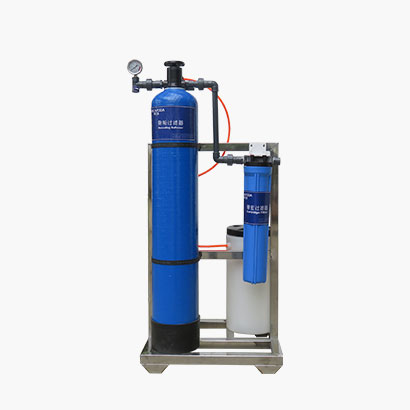


Categories
Automatic water softening equipment installation step 1: Use UPVC glue or (AB glue) to glue the center tube and the lower water distributor together.
Installation step two of the automatic water softening equipment: Insert the bonded center tube into the center of the bottom of the resin tank. After the installation of the water distributor is completed, the central pipe should be vertically placed in the center of the exchange tank, and then the UPVC pipe above the surface of the tank mouth should be cut off.
Installation step three of the automatic water softening equipment: Fold the connection between the central pipe and the valve body to an acute angle of 45 degrees
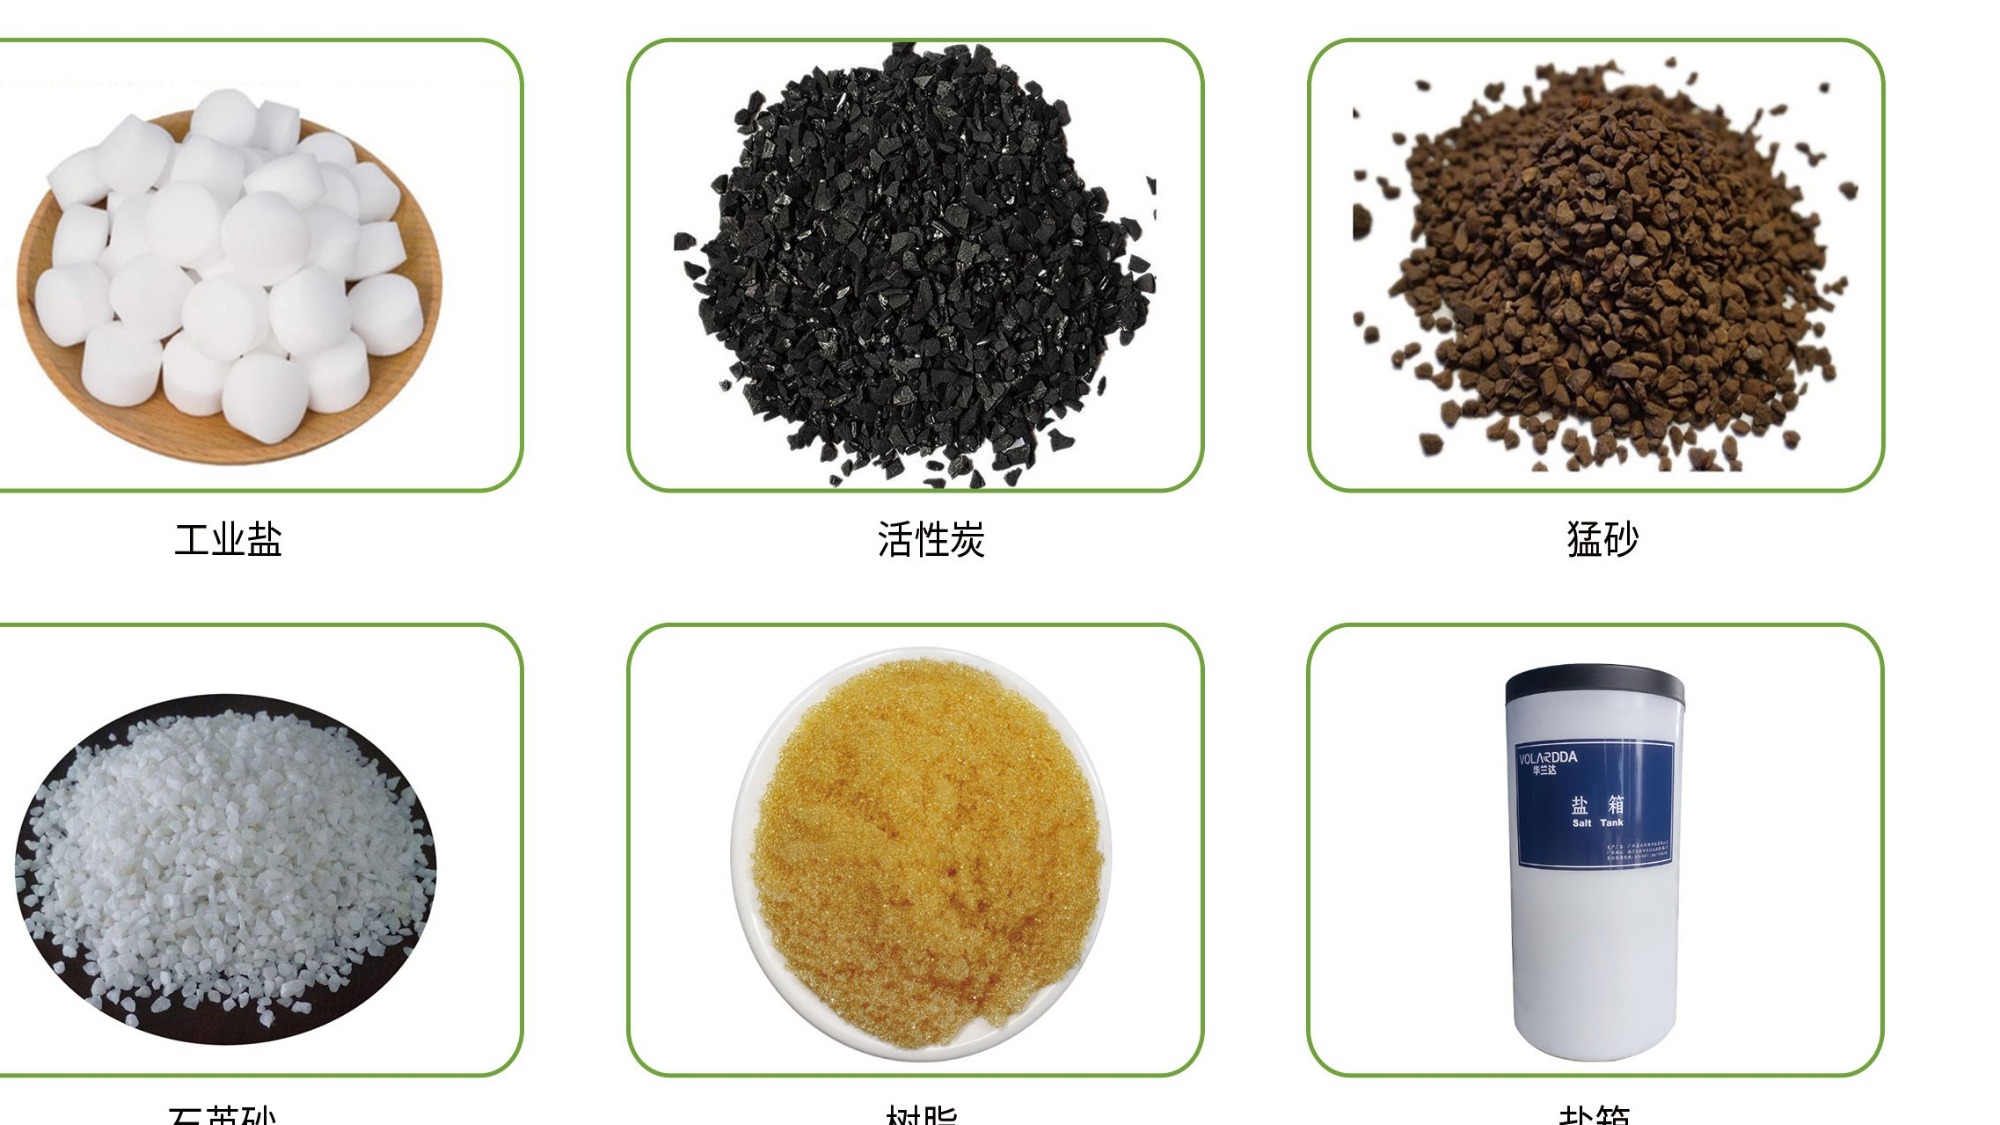
Installation step four of automatic water softening equipment: Put the center tube (with water distributor) into the center of the resin tank before filling the resin. (At this time, tape should be used to seal the center tube opening to prevent resin from entering the center tube). Connect the controller and the resin tank to tighten and adjust the direction of the tank body and the controller, and then remove the automatic softening controller. Put the resin into the resin tank along the gap around the center tube and make it flat on the bottom of the tank. Put the resin into the resin tank along the circumference of the center tube according to the specified filling amount. Correct operation should keep the center tube in the center of the resin tank at all times. Remove the sealing tape of the center tube, rinse and wipe the upper part of the center tube and the end surface of the resin tank with water, and apply silicone oil to the center tube and the seal ring of the controller.
Installation step 5 of automatic softening equipment: Install the water distributor into the controller, find the correct position and tighten it clockwise.
Installation step 6 of the automatic softening equipment: Align the socket of the automatic softening controller with the central pipe, and carefully turn the control valve clockwise until the control valve body is screwed on the tank interface. Note: During the installation of the automatic softener, make sure that the center tube is inserted into the valve body.
Installation step 7 of the automatic water softening equipment: Insert the small copper fitting connecting the salt suction pipe and the valve body into the salt suction pipe, and then insert the stainless steel filter into the small copper fitting.
Step 8 of installation of automatic water softening equipment: Connect the end with the filter screen to the salt suction port of the control valve to ensure that there is no air leakage. Put the salt valve in the salt well of the salt tank, and then connect it with the plastic elbow, and confirm that there is no air leakage.
