Categories
Reverse osmosis water purifier filter element-the replacement method of the front three-stage filter element
There will usually be water overflow during this process. Please prepare cleaning utensils such as a basin or towel:
Turn off the electroplating ball valve and the pressure barrel ball valve; open the gooseneck faucet to drain the residual water in the pipeline; when the water no longer flows out, use the filter housing spanner to open the filter housing with the filter element; take out the old filter element and install it in the same New specifications of the filter element; coat the black ring above the filter housing with a lubricant such as petroleum jelly, and then put the ring into the groove in the filter housing. Tighten the filter housing in a vertical manner to avoid displacement of the ring as much as possible. Open the electroplating ball valve and the pressure barrel ball valve.
Reverse osmosis water purifier filter element-steps and precautions for replacing RO membrane
There will usually be water overflow during this process. Please prepare cleaning utensils such as a basin or towel:
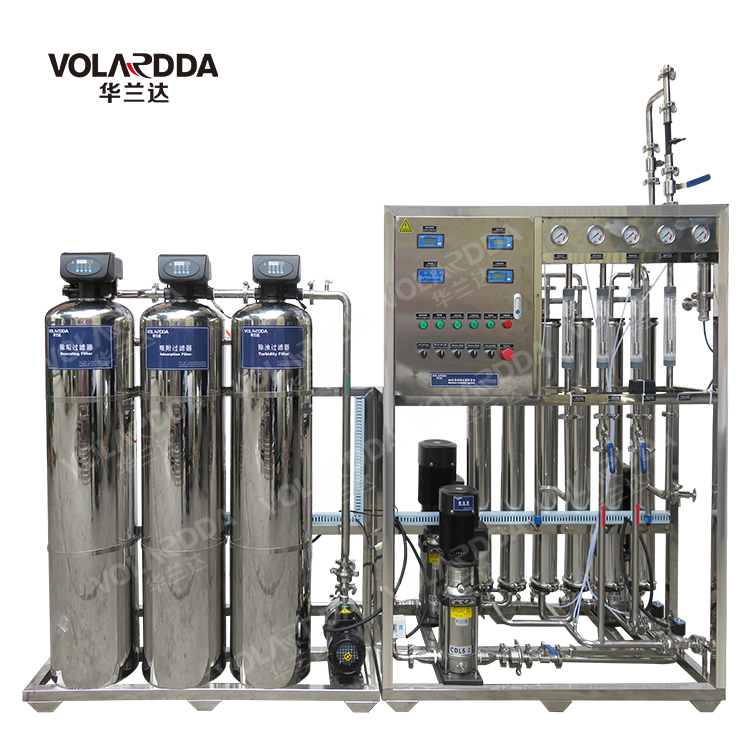
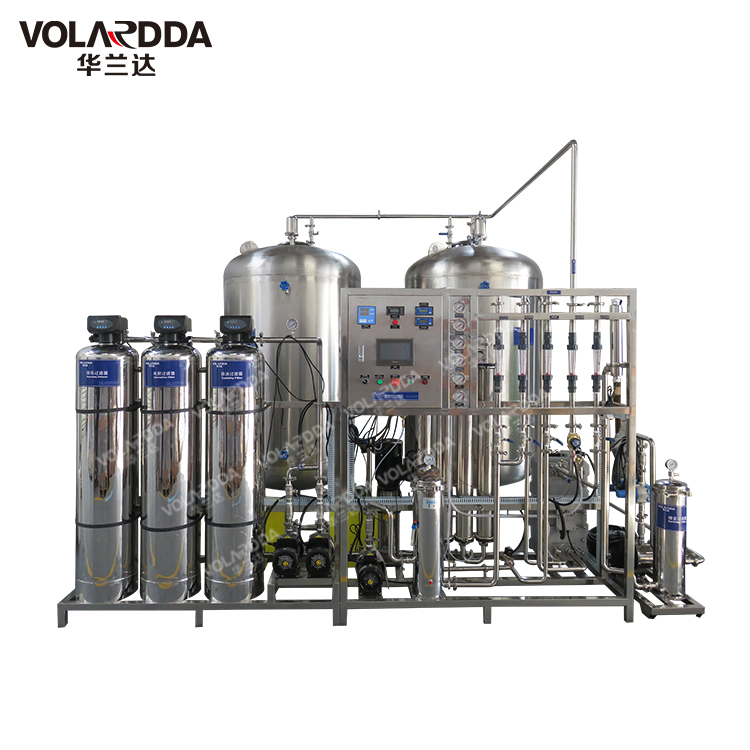
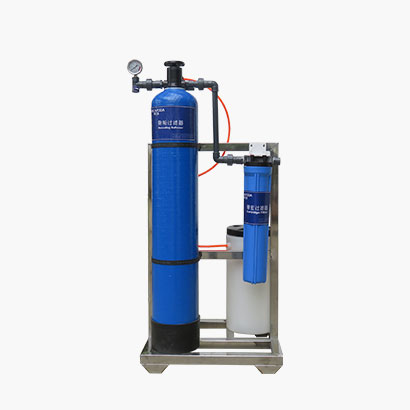
When you buy a new household water purifier, usually the reverse osmosis membrane is already installed in the reverse osmosis membrane tube.
After using for a period of time, when you need to replace the reverse osmosis membrane, you can ask a professional to serve you or replace it yourself according to the following procedures:
♦ preparation tools
spanner, pliers, bucket, scissors or knife.
♦ matters needing attention
During the installation/replacement process, try to avoid pulling other pipelines to avoid water leakage.
♦ RO membrane replacement steps
Close the electroplating ball valve and wait for about ten minutes. (Let the system decompress), unscrew the nut joint on the right side of the membrane shell by hand or a tool, and pull out the water pipe. Facing the machine, use your left hand to hold the membrane shell tightly, and use your right hand to firmly open the end cap. (If the post activated carbon filter element above the reverse osmosis membrane tube interferes with the operation of this step, it can be slightly displaced or pulled out completely. If it is pulled out completely, the extra pipeline needs to be disassembled.) Close the pressure barrel ball valve, Unscrew the nut connector above it with your hand or a tool, and guide the water pipe into an empty bucket or sink. Hold the reverse osmosis membrane tube tightly with your left hand, and then clamp the old reverse osmosis membrane with pliers, and pull it out of the membrane shell.
Open the envelope of the new reverse osmosis membrane and take it out. Insert the newly opened reverse osmosis membrane into the reverse osmosis membrane tube until the end with two small black circles reaches the bottom of the membrane shell. Tighten the membrane shell cover in the same posture that the membrane shell cover is turned off. If necessary, adjust the connector in a clockwise (locked) direction so that it points to the back of the machine. Insert the water pipe and tighten the joint nut. (Remember not to forget to put the tube plug). Open the electroplating ball valve. Let the machine run for more than two hours to make the system enter the normal state of producing water, then connect the water pipe to the pressure tank ball valve and open the pressure tank ball valve.